Store Owner's Blueprint for Perfect Shopify Google Ads Conversion Tracking


Google Ads can only optimize campaigns effectively when it receives accurate conversion data. However, many Shopify stores struggle with missing purchases, duplicate events, and attribution gaps caused by outdated tracking methods.
| What you’ll learn in this article: ● What Is Shopify Google Ads Conversion Tracking ● How to Set Up Google Ads Conversion Tracking on Shopify ● Why More Shopify Stores Are Moving to Server-Side Conversion Tracking ● How to Test and Validate Your Google Ads Conversion Tracking ● Common Shopify Google Ads Conversion Tracking Issues and Fixes |
What Is Shopify Google Ads Conversion Tracking and Why Does It Matter?
Shopify Google Ads conversion tracking records what shoppers do after clicking an ad. The tool logs key events such as add-to-cart, checkout completion, and newsletter signups. As a result, store owners see exactly which ads drive real revenue.
A tracking snippet sits on the Shopify store and sends conversion data back to Google Ads after each successful purchase. Google Ads then uses that data to target shoppers who are more likely to buy.
This data matters for a few reasons:
- Shows which campaigns generate the most revenue
- Flags underperforming keywords or products to cut wasted spend
- Improves bid optimization based on real conversion value
- Boosts ROAS over time
What Can Google Ads Conversion Tracking Measure on Shopify?
Google Ads conversion tracking can measure far more than completed purchases. Depending on how your tracking is configured, you can monitor key actions throughout the customer journey and identify which ads contribute to revenue.
Purchases
Purchase tracking records completed orders and sends transaction details such as order value, transaction ID, and purchased products back to Google Ads. It allows Google Ads to optimize campaigns based on actual revenue rather than clicks alone.
Add to Cart Events
Add-to-cart tracking measures how often shoppers add products to their cart after clicking an ad.
While these users have not purchased yet, the event provides valuable insight into product interest and can help identify high-performing campaigns earlier in the buying process.
Begin Checkout
Begin Checkout tracking records when a customer starts the checkout process.
Many merchants use this event to identify checkout abandonment issues and create remarketing audiences for shoppers who showed strong purchase intent but did not complete their order.
Newsletter Signups and Lead Submissions
For stores focused on lead generation, Google Ads can track actions such as newsletter subscriptions, contact form submissions, quote requests, or account registrations. These conversions help measure customer acquisition efforts beyond direct sales.
Phone Calls and Contact Actions
Businesses that accept orders or inquiries by phone can track call conversions generated from Google Ads.
This provides a more complete picture of campaign performance, especially for stores selling high-ticket or customized products.
Conversion Value and Revenue Data
Beyond counting conversions, Google Ads can also measure the value of each conversion.
By sending dynamic purchase values from Shopify, merchants can calculate ROAS more accurately and allow Google's Smart Bidding algorithms to optimize for higher-value customers instead of simply maximizing conversion volume.
How to Set Up Google Ads Conversion Tracking on Shopify
There are two common ways to set up Google Ads conversion tracking on Shopify. You can use a dedicated tracking app for a faster, beginner-friendly setup, or configure everything manually if you want more control over your tracking infrastructure.
| Method | Difficulty | Accuracy | Time to Set Up | Best For |
|---|---|---|---|---|
| Omega Google Ads, Ga4 & GTM | Easy | High | Minutes | Merchants who want a fast, reliable tracking setup |
| Google Ads Tag | Medium | Good | 30-60 minutes | Merchants comfortable with code |
| Google Tag Manager | Medium to Hard | Good | 1-2 hours | Stores needing custom event tracking |
| Server-Side Tracking | Hard | Highest | Several hours | Advanced merchants and agencies |
Method 1: Set Up Google Ads Conversion Tracking with Omega Google Ads
For most Shopify merchants, using a dedicated app is the easiest way to set up Google Ads conversion tracking.
You don't need coding knowledge, Google Tag Manager experience, or complex tag configurations. Simply connect your Google Ads account and complete the setup through a guided dashboard.
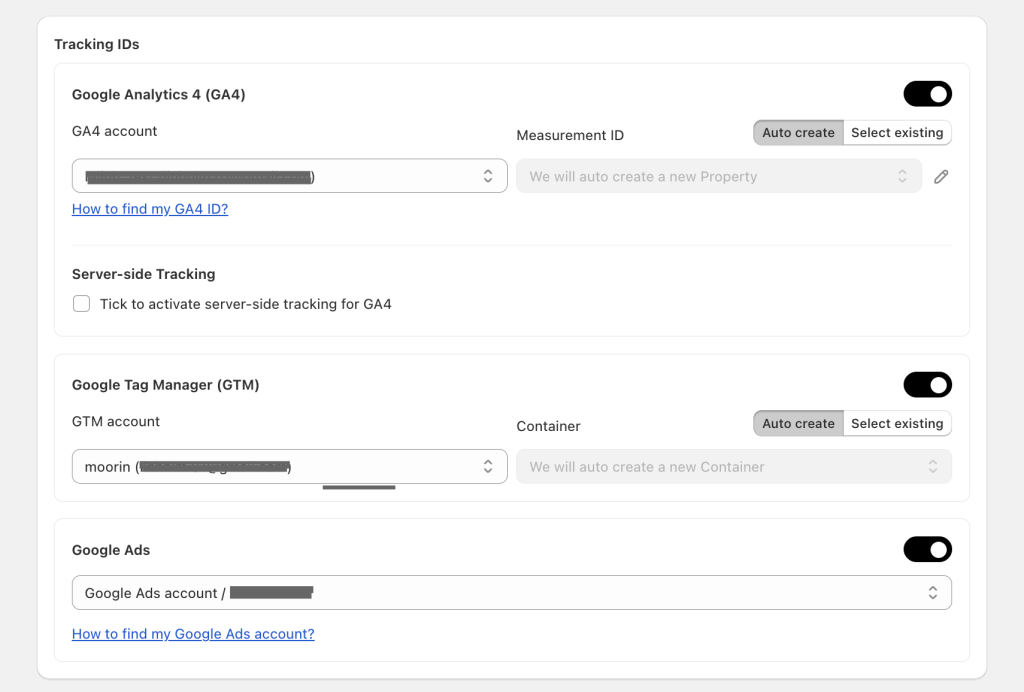
Step 1: Connect and select your Google Ads account within the Omega Google Ads, Ga4 & GTM dashboard.
Step 2: Select the Shopify events you want Google Ads to track, such as Add to Cart, Begin Checkout, or Purchase. You can create new conversions automatically or connect existing conversion actions.
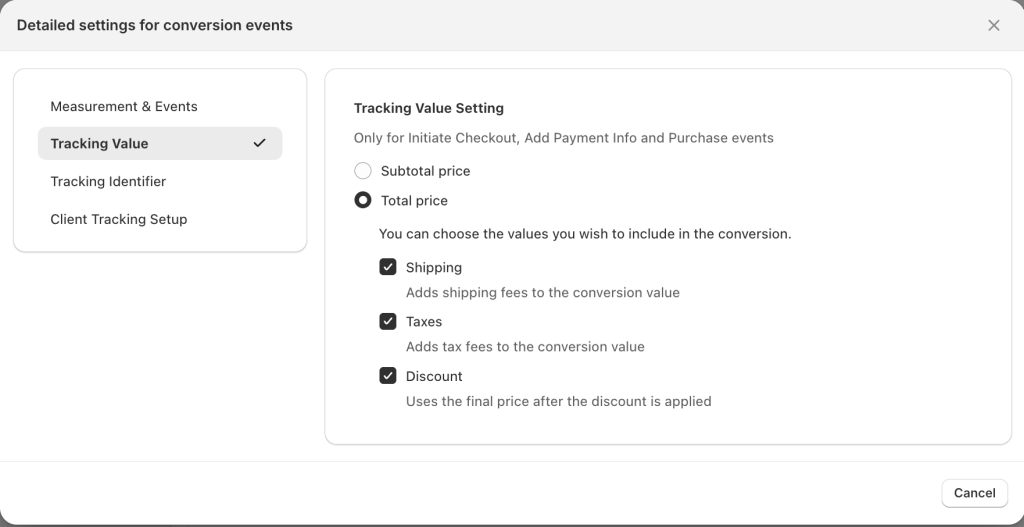
Step 3: Choose how conversion values should be calculated. You can decide whether to include shipping fees, taxes, discounts, subtotal amounts, or the final order total.
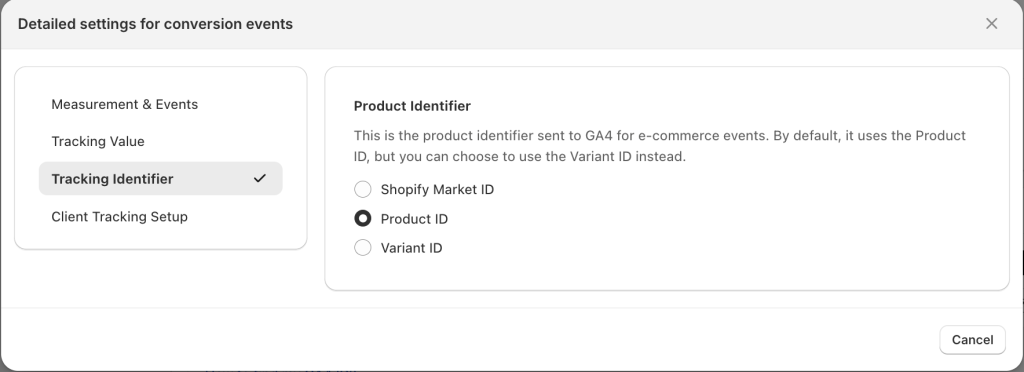
Step 4: Open Detailed settings for conversion events, go to Tracking Identifier, then select Product ID (recommended), Variant ID, or Shopify Market ID based on your tracking setup.
After setup, Omega Google Ads provides a centralized dashboard where you can monitor tracked events and review conversion activity without switching between multiple platforms.
Method 2: Manual Setup Using Google Ads Tag or Google Tag Manager
If you prefer full control over your tracking setup, you can also configure Google Ads conversion tracking manually. This method requires more technical work because you'll need to install tags, verify events, and maintain the setup yourself.
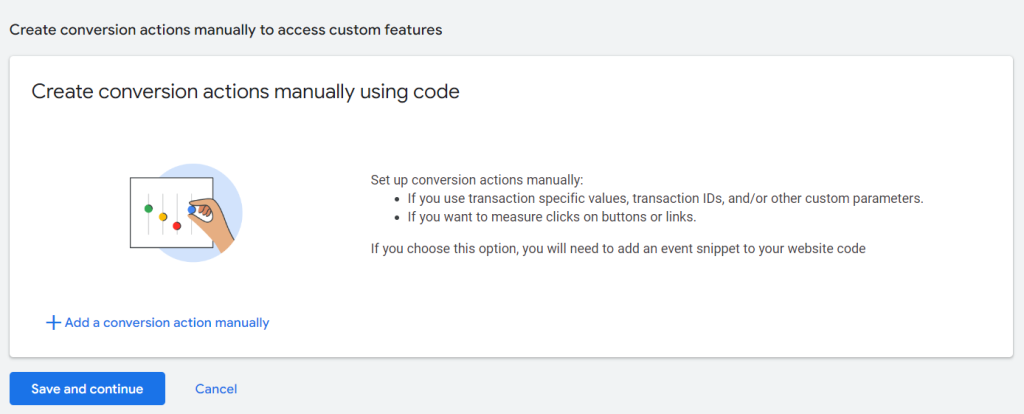
Step 1: Create a conversion action in Google Ads and choose the event you want to track.
Step 2: Install the Google Ads conversion tag on Shopify, either directly in your theme or through Google Tag Manager (GTM).
Step 3: Test the implementation with Google Tag Assistant to confirm conversion events fire correctly.
Step 4: Enable Enhanced Conversions to improve attribution accuracy and recover more conversion data.
Why More Shopify Stores Are Moving to Server-Side Conversion Tracking
Growing data privacy restrictions render browser pixels obsolete. Server-side tracking secures accurate analytics and scales Shopify store revenue.
Limitations of browser-based tracking
Traditional Google Ads tracking depends heavily on browser cookies and client-side scripts. However, privacy regulations and browser restrictions have changed how data gets collected online.
Many browsers now limit third-party cookies, while ad blockers can prevent tracking tags from firing altogether. As a result, Google Ads may miss conversions that actually occur on your Shopify store.
Missing conversion data creates a bigger problem than inaccurate reporting. Google Ads uses conversion signals to optimize bidding and audience targeting. When those signals disappear, campaign performance often suffers as well.
Benefits of server-side tracking for Google Ads
Server-side tracking sends conversion data directly from Shopify's backend to Google instead of relying entirely on the customer's browser. Consequently, more conversion events reach Google Ads successfully.
Merchants often choose server-side tracking because it can:
- Recover conversions lost to browser restrictions
- Improve attribution accuracy
- Support more reliable automated bidding
- Provide cleaner conversion data for optimization
How Omega Google Ads helps implement server-side conversion tracking on Shopify
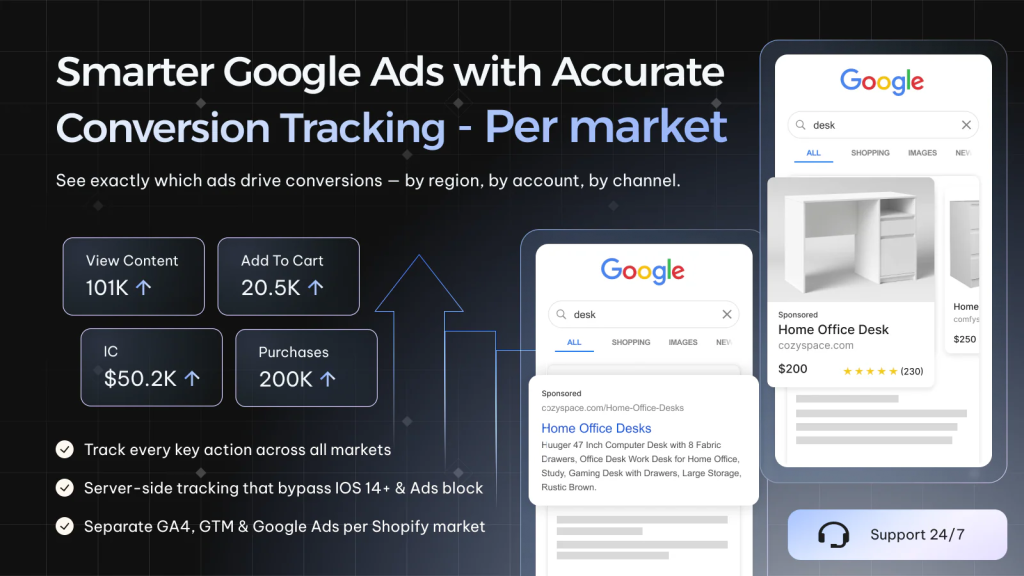
Many Shopify merchants recognize the benefits of server-side tracking but hesitate because the setup process can become technical. With Omega Google Ads, you can enable server side tracking with a simple toggle. Once it's turned on, the app automatically handles the underlying setup, including event deduplication, parameter hashing, and other best practice configurations behind the scenes.
The app supports Google Ads conversion tracking, Enhanced Conversions, and server-side event delivery in a single solution. As a result, merchants can improve tracking accuracy without relying on custom development or complex tag configurations.
How to Test and Validate Your Google Ads Conversion Tracking
Setting up conversion tracking is only the first step. Before relying on the data for campaign optimization, you should verify that conversion events are firing correctly and that Google Ads receives the expected information.
Using Google Tag Assistant
Google Tag Assistant helps you confirm whether your conversion tags load and fire properly on your Shopify store.
After completing your setup, place a test order and visit the confirmation page where the conversion should trigger. Then, use Tag Assistant to check whether the Google Ads conversion tag appears and sends data successfully.
Checking Conversions Inside Google Ads
Google Ads provides reporting tools that show whether conversion actions are receiving data.
Navigate to Goals > Conversions and review the status of your conversion actions. A healthy setup should begin recording activity after users complete the tracked action.
Comparing Shopify Orders with Google Ads Conversions
A simple way to validate tracking accuracy is to compare Shopify order data with Google Ads conversion reports.
The numbers will not always match exactly because of attribution windows, ad interactions, and reporting delays. However, large discrepancies may indicate missing events, duplicate tracking, or incorrect conversion settings.
Validate Your Tracking Health with Omega Google Ads
While manual testing confirms that conversion events are firing, it does not always reveal underlying issues that can affect campaign performance over time.
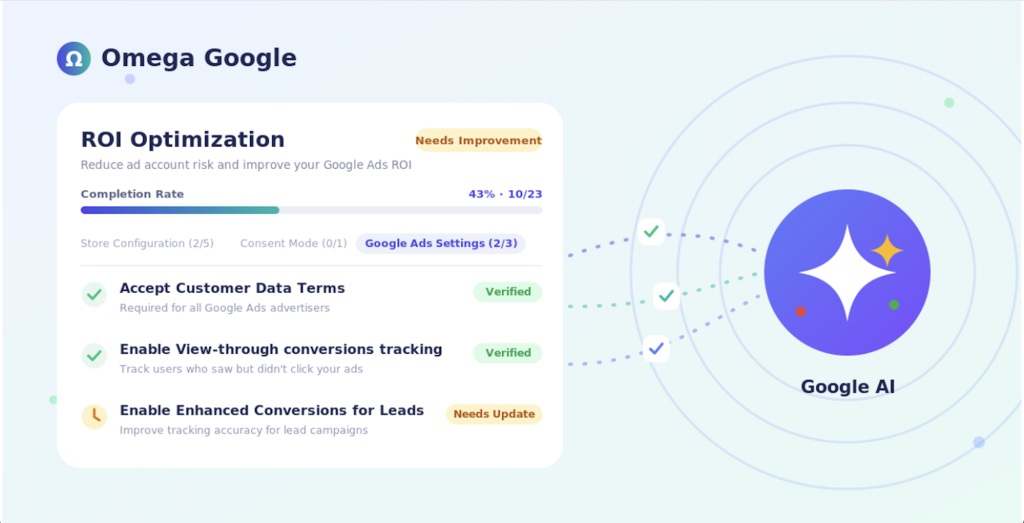
Instead of checking each setting individually, Omega Google Ads provides a built in Tracking Health Checklist that evaluates both your Google Ads account health and Shopify store tracking health.
The checklist is based on best practices refined through supporting thousands of Shopify merchants, helping you identify common tracking issues before they impact your reporting or ad performance.
Common Shopify Google Ads Conversion Tracking Issues and Fixes
Broken Shopify pixel integrations ruin Google Ads performance. Correct these common configuration mistakes to recover accurate conversion reporting.
Conversions not showing in Google Ads
When conversions fail to appear in Google Ads, the problem usually comes from an incorrect setup rather than the advertising campaign itself.
Merchants should verify the Conversion ID, Conversion Label, and event configuration first. If you use Omega Google Ads, the app helps verify your tracking setup and resync missed orders, reducing the risk of lost conversion events in Google Ads.
Duplicate conversion tracking
Duplicate conversions occur when multiple tracking methods send the same purchase event to Google Ads. For example, a store may track purchases through both Google Tag Manager and another tracking app simultaneously.
Consequently, Google Ads reports inflated conversion numbers and misleading performance metrics. Merchants should audit their tracking setup regularly and ensure only one purchase conversion source remains active.
Missing purchase values or transaction IDs
Google Ads relies on purchase values and transaction IDs to measure revenue accurately. When either parameter is missing, conversion reports become incomplete.
Several issues can cause this problem, including incorrect event mapping, missing variables, or configuration errors within the tracking setup. Therefore, merchants should compare Shopify order data against Google Ads reports to identify discrepancies.
Server-side tracking attribution issues
Server-side tracking generally improves attribution accuracy. However, configuration mistakes can still create reporting inconsistencies between Shopify and Google Ads.
Merchants should review attribution windows, Enhanced Conversion settings, and event mappings whenever reporting differences appear unusually large. In most cases, a properly configured server-side setup reduces attribution gaps and improves data reliability over time.
Conclusion
Accurate conversion tracking allows Shopify merchants to measure campaign performance, optimize bidding strategies, and make better advertising decisions. Whether you choose a dedicated solution like Omega Google Ads or a manual setup through Google Ads and GTM, validating your tracking is just as important as implementing it.
For merchants who want a faster setup with less technical work, Omega Google Ads simplifies Shopify Google Ads conversion tracking while supporting advanced features such as Enhanced Conversions, server-side tracking, and multi-market tracking, allowing different Google Ads accounts to be assigned to different regions for cleaner, more accurate conversion tracking.

- 1 What Is Shopify Google Ads Conversion Tracking and Why Does It Matter?
- 2 What Can Google Ads Conversion Tracking Measure on Shopify?
- 3 How to Set Up Google Ads Conversion Tracking on Shopify
- 4 Why More Shopify Stores Are Moving to Server-Side Conversion Tracking
- 5 How to Test and Validate Your Google Ads Conversion Tracking
- 6 Common Shopify Google Ads Conversion Tracking Issues and Fixes
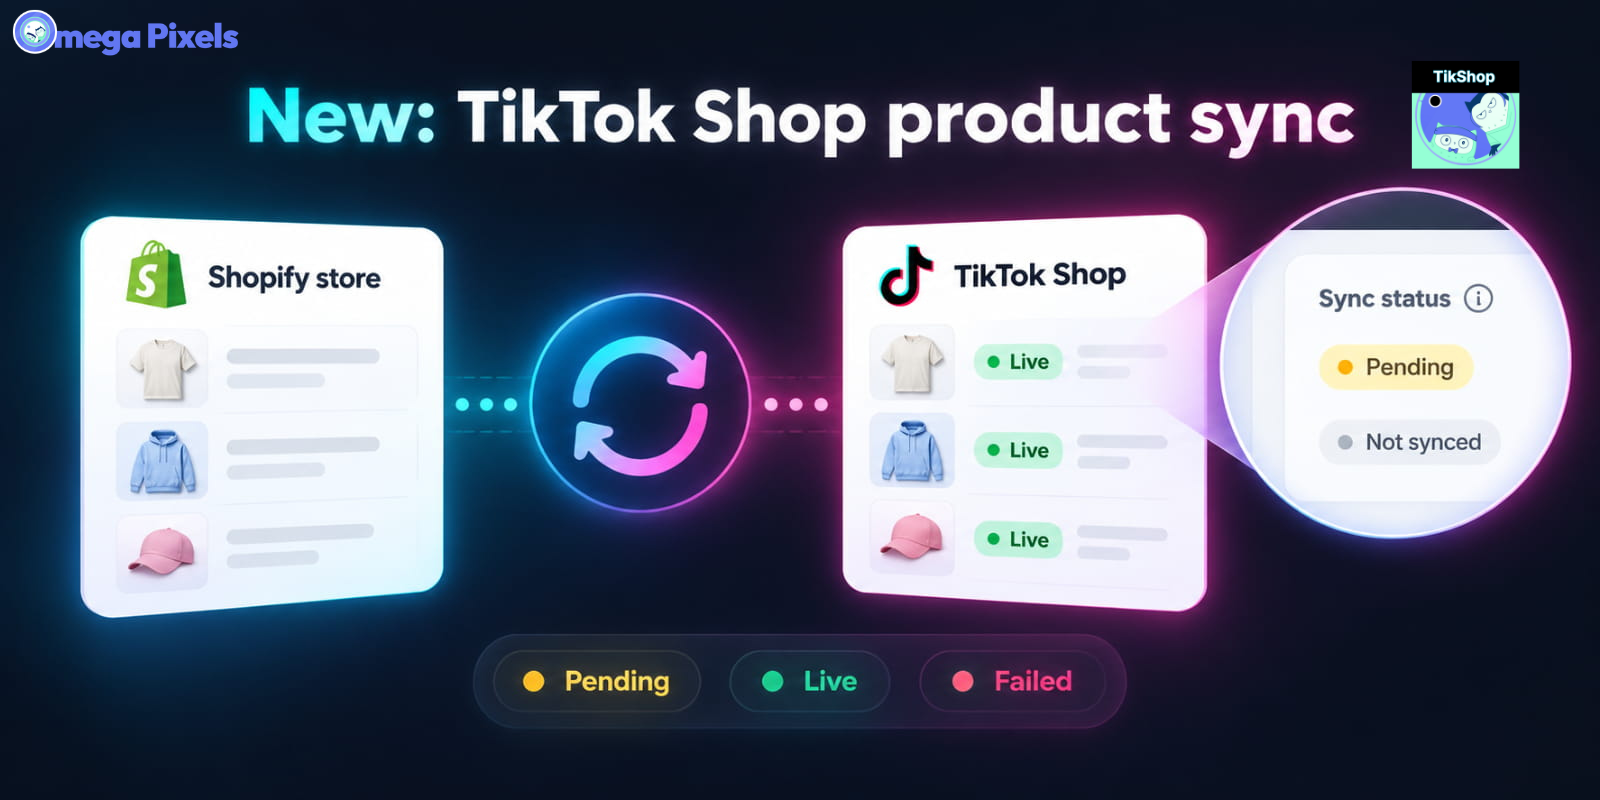
Sync Shopify Products to TikTok Shop directly with Omega TikTok Pixels
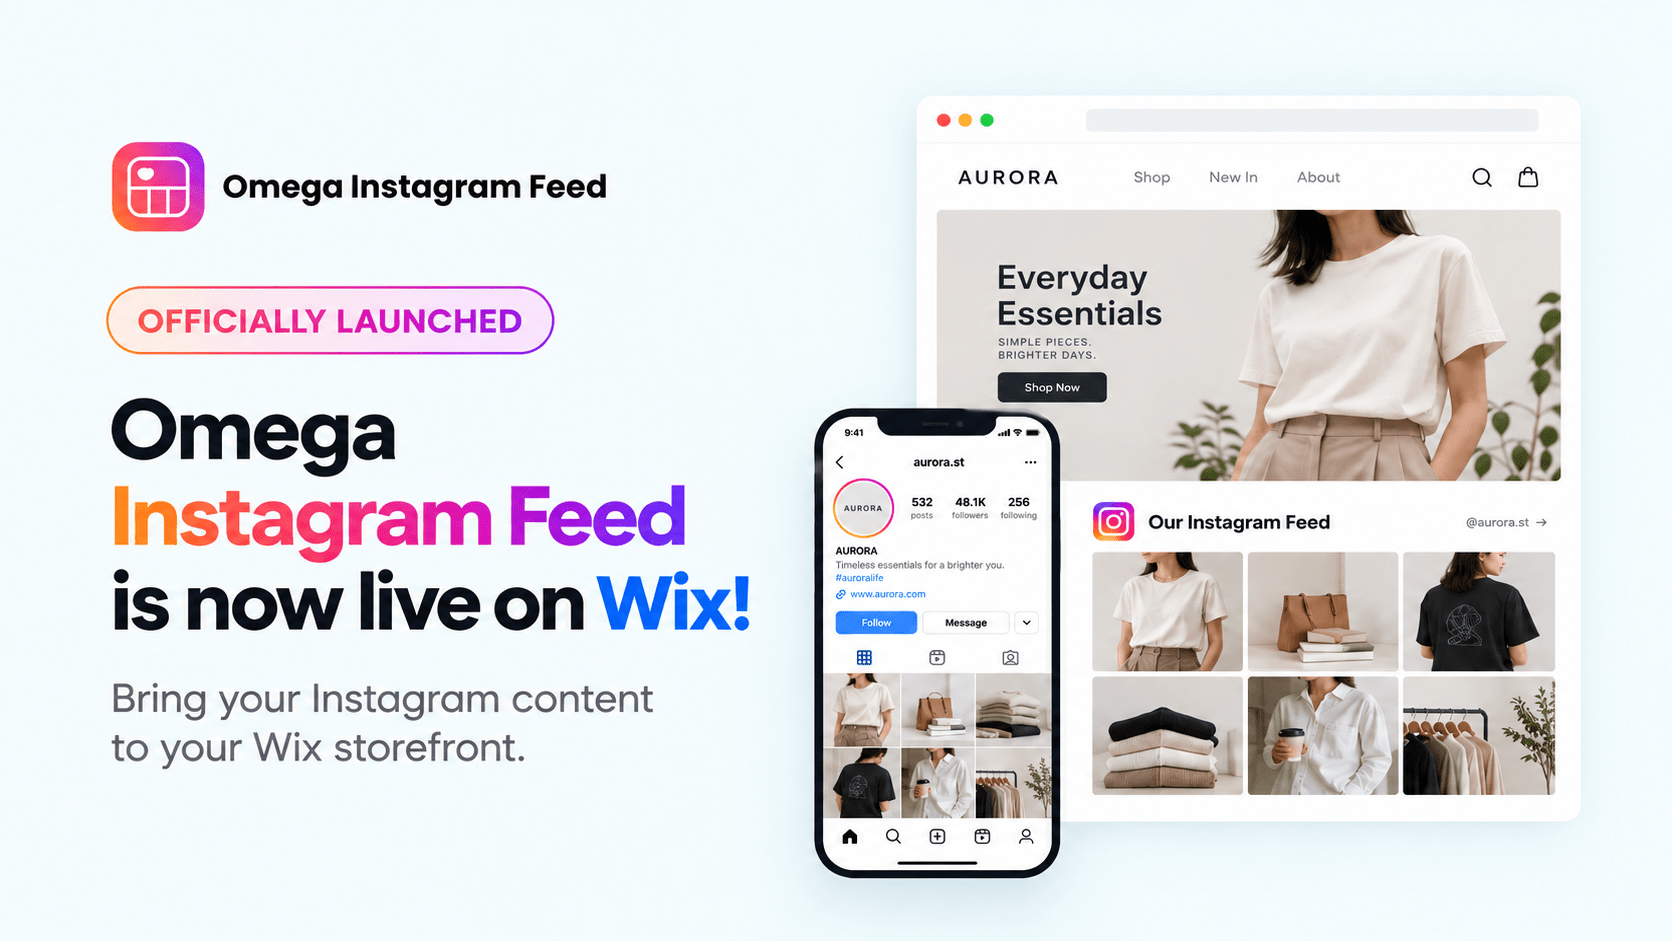
Transform Wix Storefronts with Shoppable Instagram Galleries: Omega Instagram Feed Launch

Stop Bots From Training Your Meta Ads: Introducing Bot & Fraud Protection
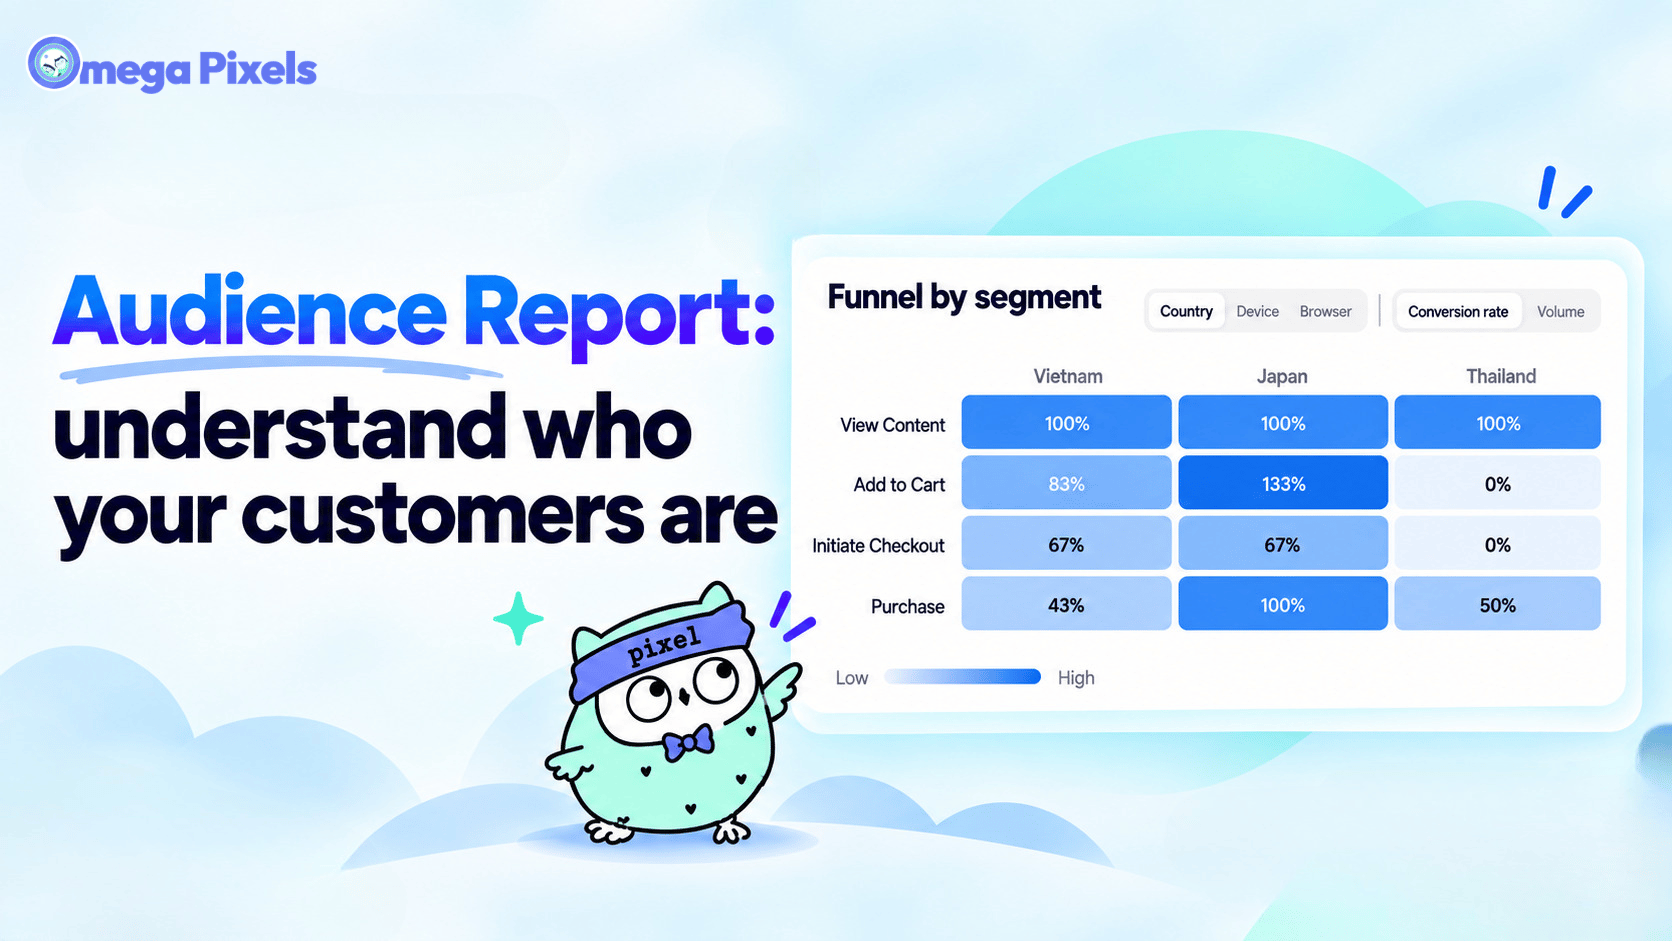
New in Omega Facebook Pixel: Audience Report
Google Ads ROI: 7 Ways to Get More Value From Every Ad Dollar
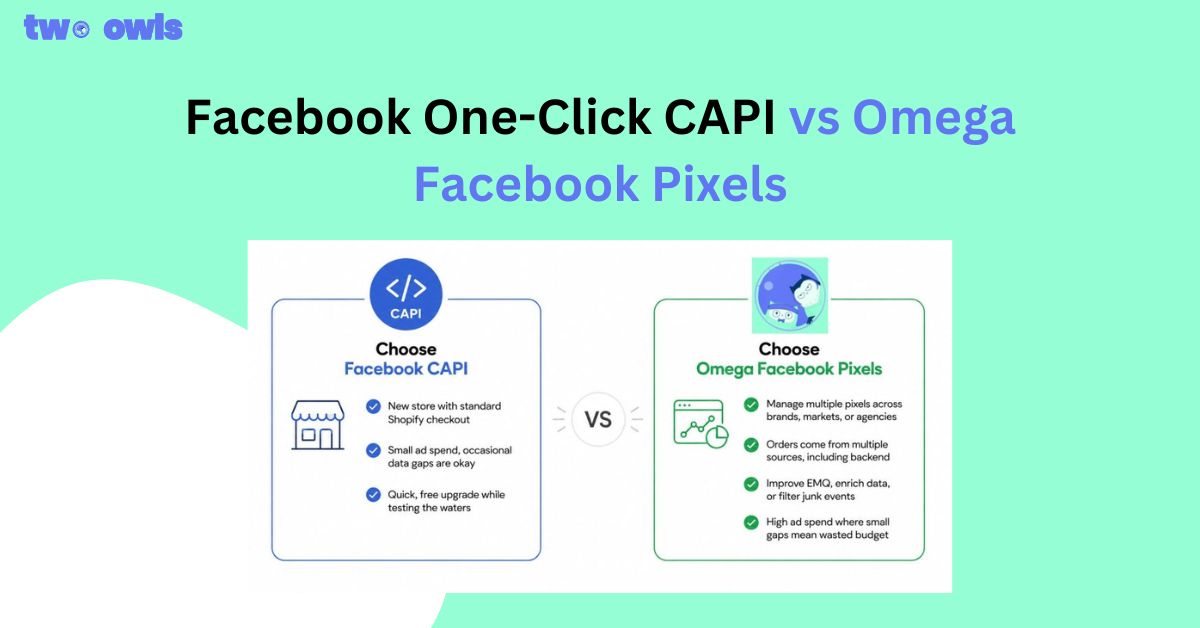
Facebook One-Click CAPI vs Omega Facebook Pixels: Which Is Better for Shopify?
Shopify GA4 Server to Server Integration 2026: What's Automatic, What's Still Broken
Google Ads Conversion Tracking Not Working? 7 Latest Proven Fixes
Why Is GA4 Revenue Lower Than Shopify? Common Reasons Your Reports Don't Match
Google Ads ROI: 7 Ways to Get More Value From Every Ad Dollar
Facebook One-Click CAPI vs Omega Facebook Pixels: Which Is Better for Shopify?
Shopify GA4 Server to Server Integration 2026: What's Automatic, What's Still Broken
Google Ads Conversion Tracking Not Working? 7 Latest Proven Fixes